
Building an efficient and affordable speed composter is one of the best ways to tackle common composting challenges, especially in areas with humid climates or pest problems. In this article, we will revisit the process of constructing a $25 speed composter, explore its effectiveness, and address common concerns regarding its design and performance.
Why Build a Speed Composter?
One year ago, I decided to create a speed composter using a simple plastic trash can. The reason behind this project was my frustration with traditional cold compost piles. Living on the Southeastern coast of North Carolina, the humid climate caused several issues with my cold compost pile. Weeds, pests, and slow decomposition were constant headaches. The compost pile became overrun by insects, and the decomposition process was so slow that it hardly seemed worth the effort. As a result, I found myself buying compost instead of producing it.
This led me to design a more efficient system, enclosed in a black plastic trash can. The benefits of this design were twofold: it would prevent pests and weed seeds from infiltrating the compost, and the black trash can would absorb heat from the sun, speeding up the decomposition process. This concept created a microclimate within the trash can that enhanced the breakdown of organic matter, even during cooler months.
The Advantages of Using a Trash Can Composter
The enclosed nature of this design resolves many common composting issues:
- Pest Control: By keeping the compost sealed, most insects and other pests are kept out.
- Weed Prevention: Weed seeds cannot germinate within the composter due to the lack of light and the controlled environment.
- Accelerated Decomposition: The black trash can absorbs heat, speeding up the composting process, even in cooler weather.
How to Build a Speed Composter
Building the composter is simple and requires only a few tools:
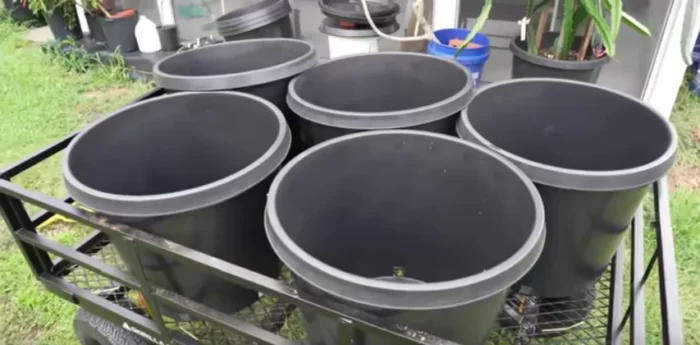
- A 32-gallon plastic trash can (preferably black to absorb heat)
- A drill for making ventilation and drainage holes
- A shovel (optional, for sinking the trash can into the ground)
Here are the key steps to build it:
- Drill Drainage Holes: Drill several holes in the bottom of the trash can to allow water to drain. Without proper drainage, the compost could become anaerobic, leading to bad odors and improper decomposition.
- Drill Ventilation Holes: Drill smaller holes along the sides of the trash can to allow airflow. Proper aeration is crucial for aerobic decomposition, which is much faster and more efficient than anaerobic composting.
- Sink the Trash Can: Dig a shallow hole in your yard and place the trash can in it, burying about 6 inches. This prevents animals from burrowing under the composter.
Once the trash can is in place, you’re ready to start adding organic material.
What to Compost in the Trash Can Composter
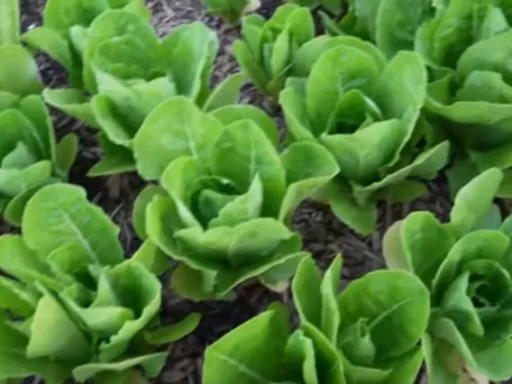
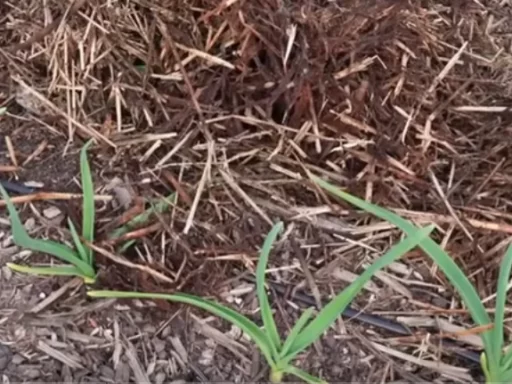
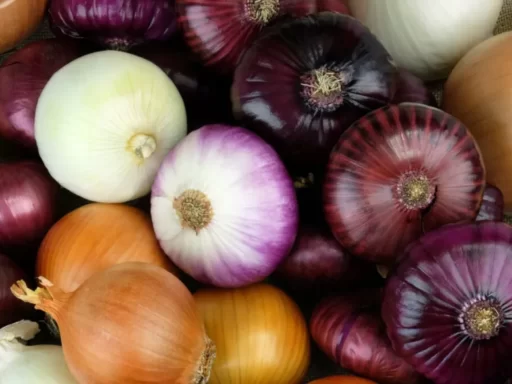
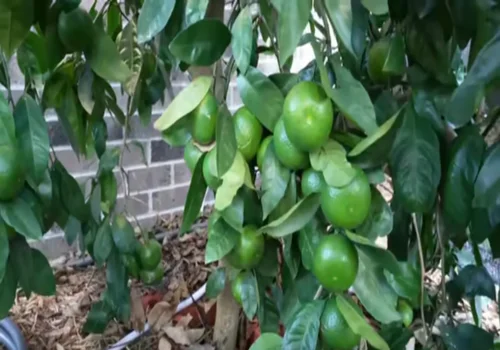
My composter primarily breaks down kitchen scraps from my home-grown vegetables. Since I cook most of my meals at home and order takeout rarely, the majority of my compost consists of vegetable scraps, coffee grounds, eggshells, and garden waste like old plant roots. This cold composter works because it leverages the natural heat of the sun to speed up decomposition.
Although I do not actively maintain a hot composting system (which requires a balanced ratio of green and brown materials and regular turning), the heat from the black trash can naturally accelerates the breakdown of organic matter. As a result, this method produces faster results than traditional cold composting.
How Does the Composter Perform?
After three to four months of composting, I opened the trash can to inspect the results. Despite being in the middle of winter (the coldest and darkest time of the year), the compost had broken down significantly. The eggshells were still mostly intact, as they take a long time to decompose, but everything else had turned into rich, dark compost.
One of the benefits of this design is that when it’s time to harvest the compost, you can easily lift the trash can out of the ground and dump the contents. After a few turns with a pitchfork, you will have a pile of nutrient-rich compost ready to use in your garden.
Common Concerns and Lessons Learned
1. Are Animals a Problem?
Many people worry that animals will be able to burrow into the composter through the drainage holes. However, since the trash can is partially buried in the ground and the holes are small, this has not been an issue. If you’re particularly concerned, you can use a smaller drill bit for the holes, though you’ll need to make more of them to maintain proper drainage.
2. Do Pests Enter Through the Ventilation Holes?
While it’s possible for small insects like flies to enter through the side holes, they actually assist in the decomposition process. In fact, the flies tend to stay near the composter, reducing the number of flies in other areas of my yard.
If you’re very concerned about flies, you can use screen repair tape to cover the holes and keep insects out. This is an easy fix that allows airflow while preventing pests from getting inside.
3. Do Weed Seeds Germinate in the Composter?
Although some seeds, like those from pumpkins or watermelons, may germinate temporarily, they quickly die off due to the lack of light. Overall, this system is virtually weed-free.
4. How Often Do You Turn the Compost?
I typically turn the compost about once every two weeks, depending on the weather. In colder months, I may be less diligent about turning it, but during the summer, regular turning helps speed up the decomposition process.
5. Are There Any Downsides to This Method?
I’ve found no significant downsides to this composting method. It saves space compared to traditional compost piles, prevents pests and weeds, and speeds up decomposition. Overall, it has resolved all of the issues I had with my old cold compost pile.
6. How Do You Add Greens for Winter Composting?
For those practicing hot composting, finding green material in the winter can be challenging. While I don’t hot compost, you can use coffee grounds as a nitrogen source during colder months. Many coffee shops, including major chains like Starbucks, will give you coffee grounds for free if you ask.
7. Is Using a Plastic Trash Can Safe for Composting?
Some people worry about using plastic trash cans for composting, fearing that chemicals might leach into the compost. However, most trash cans are made from HDPE or PVC, which are commonly used in water supply pipes, meaning they are safe for this purpose.
Frequently Asked Questions
- Can I use this method for hot composting? Yes, but you’ll need to regularly turn the compost and maintain a proper balance of green and brown materials.
- How long does it take for the compost to be ready? It depends on the season and the materials you’re composting. In warmer months, compost can be ready in as little as three months.
- Do I need to drill holes in the trash can? Yes, both drainage and ventilation holes are essential for proper composting.
- What materials can I compost? You can compost kitchen scraps, coffee grounds, eggshells, garden waste, and more. Avoid composting meat, dairy, and oily foods.
- Can animals get into the composter? It’s unlikely, especially if the trash can is partially buried in the ground.
- Do I need to turn the compost? While turning helps speed up decomposition, it’s not necessary for cold composting.
- Is it safe to use a plastic trash can for composting? Yes, most plastic trash cans are made from safe materials like HDPE or PVC.