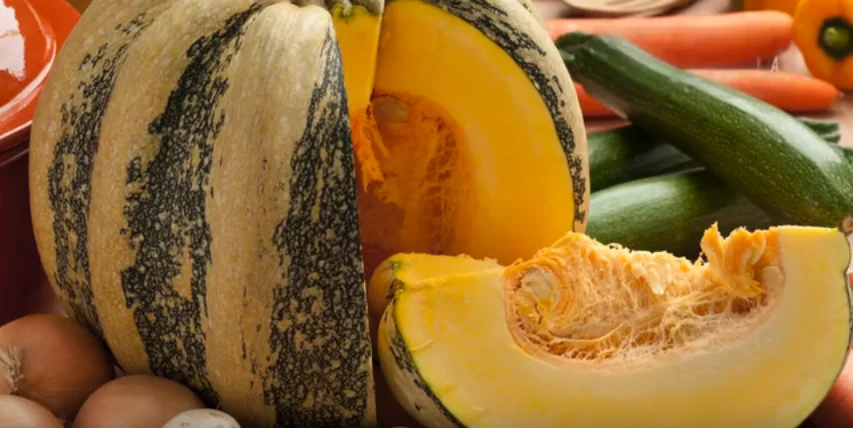
There is something truly magical about the idea of growing a pumpkin patch. The sprawling vines, the lush green leaves, and the hidden treasures of vibrant pumpkins tucked beneath the foliage evoke the feeling of stepping into a fairy tale. Pumpkins and winter squashes are wonderful additions to any garden, offering both aesthetic appeal and delicious produce. In this guide, we’ll walk you through the steps to create your very own pumpkin patch, from preparing the ground to planting different varieties and ensuring a bountiful harvest.
Why a Pumpkin Patch is a Great Addition to Your Garden
A pumpkin patch offers many benefits beyond just growing food. The large, creeping plants not only fill up space beautifully but also provide valuable ground cover, helping to suppress weeds and retain soil moisture. Pumpkins and squashes are known for their vibrant colors and unique shapes, making them perfect for both decoration and culinary use. They also store well, meaning you can enjoy the fruits of your labor throughout the winter.
Step 1: Choosing the Perfect Location
Before planting your pumpkins or winter squash, you need to select the ideal location. Squashes love warmth, sunlight, and well-moisturized soil. The best place to grow them is in an area that receives full sun for at least 6 hours a day. Additionally, choose a spot where the soil is rich and well-drained. If your garden tends to get soggy in winter, that’s not necessarily a bad thing, as it helps retain moisture during the drier summer months.
If you’re working with a small or neglected area of your garden, such as an unused patch of lawn or a space backed by a stone wall, you’re in luck. These kinds of spaces can create a warm, sheltered microclimate that pumpkins thrive in. For example, a stone wall can absorb heat during the day and release it at night, providing an extra boost of warmth to your plants.
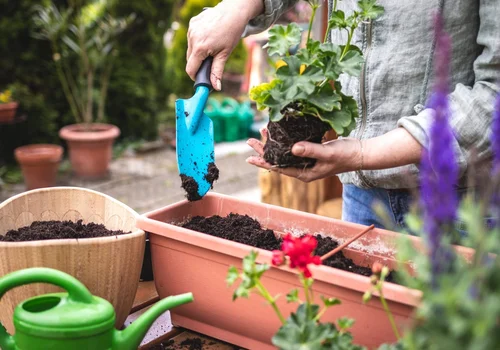
Step 2: Preparing the Ground
Now that you’ve selected your location, it’s time to prepare the ground. One of the simplest methods to do this is by using cardboard to smother any existing grass or weeds. This is a no-dig method, which saves you from the back-breaking labor of digging out turf. Simply mow the grass as close to the ground as possible, and leave the clippings in place. Then, lay down your cardboard, making sure to remove any staples or tape. A double layer of cardboard will ensure that no weeds manage to grow through.
If you have more persistent weeds like brambles or docks, it’s a good idea to dig them out beforehand. Once the cardboard is in place, water it thoroughly to soften it, which will make it easier to lay your next layer of compost or manure.
Step 3: Adding Compost and Manure
After your cardboard layer is down, it’s time to cover the area with a thick layer of compost or well-rotted manure. This layer will provide the perfect growing medium for your pumpkins and squash, offering plenty of nutrients while also helping with drainage. Aim for about 4 inches of compost, though a bit more won’t hurt.

Not only will the compost act as a nutrient-rich soil, but as the cardboard decomposes, it will further improve the structure and fertility of your garden bed. Over time, your soil will become richer and more productive, allowing your pumpkins to thrive year after year.
Step 4: Planting Your Pumpkins and Squash
Now that your garden bed is ready, it’s time to plant your pumpkin and squash seedlings. If you haven’t started your seeds yet, don’t worry—there’s still time! Pumpkins and squashes can be sown directly into the soil, but many gardeners prefer to start them in pots or plug trays to protect the young plants from slugs and birds.
When planting, space your pumpkins and squash about 3-4 feet apart. Some varieties, like butternut squash, are sprawlers and need plenty of room to spread out. Others, like compact varieties of pumpkins, can be planted a bit closer together. Be sure to give them plenty of room to sprawl or train them to grow vertically by using structures like trellises or obelisks.
Before planting, harden off your seedlings by bringing them outdoors for a few hours each day over a period of 10 days. This will help them acclimate to outdoor conditions, especially if they were started indoors or in a greenhouse.
Step 5: Mulching and Watering
Once your pumpkins are planted, it’s important to keep the soil cool and retain moisture. One way to do this is by mulching around the base of each plant with grass clippings or straw. This not only helps regulate soil temperature but also adds organic matter as it decomposes.
Pumpkins and squashes need plenty of water, especially once they start fruiting. Make sure to water deeply, allowing the water to penetrate the soil and reach the plant’s roots. You can also create small watering basins around each plant to help direct water where it’s needed most.
Step 6: Maintaining Your Pumpkin Patch
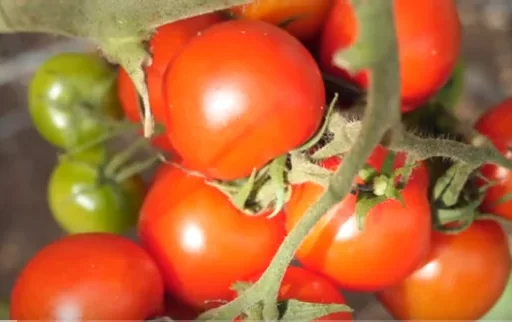
As your plants grow, they will start to sprawl, and some varieties may produce roots along their stems. These extra roots help anchor the plants and draw up more nutrients, which is great for ensuring large, healthy fruits. If your plants seem to be struggling, you can give them a boost with a liquid fertilizer rich in potassium, such as a tomato feed.
Weeds are unlikely to be a big issue, thanks to the large leaves of the squash plants that shade the soil. However, if you want to be extra cautious, you can lay down a weed membrane to keep unwanted plants at bay. Just be sure to cut holes for your pumpkin plants to grow through.
Step 7: Harvesting Your Pumpkins
By late summer or early fall, your pumpkins will be ready to harvest. Look for a deep, even color and a hard rind that doesn’t yield to pressure. To harvest, use sharp pruning shears to cut the pumpkin from the vine, leaving a few inches of stem attached. Store your pumpkins in a cool, dry place, and they’ll last for several months.
Frequently Asked Questions
- How long does it take for pumpkins to grow?
Pumpkins usually take 90 to 120 days to mature, depending on the variety. - What type of soil is best for growing pumpkins?
Pumpkins prefer well-drained, rich soil with plenty of organic matter. - How often should I water my pumpkins?
Water deeply once or twice a week, making sure the soil stays consistently moist but not waterlogged. - Can I grow pumpkins in containers?
Yes, smaller varieties of pumpkins can be grown in large containers, but they need plenty of space for their vines to spread. - When is the best time to plant pumpkins?
Plant pumpkins after the last frost in spring when the soil has warmed up. - Do I need to fertilize my pumpkins?
Pumpkins benefit from a balanced fertilizer when they start growing, followed by a high-potassium feed once they begin to flower and set fruit. - How can I prevent pests from damaging my pumpkins?
Use row covers to protect young plants, and check regularly for common pests like squash bugs and aphids.